Bowling is one of the biggest parts of cricket. Having good technique & form are essential for good play. Improve your bowling game with Kitlocker.com’s guide!
How To Bowl In Cricket
There are three major positions in every cricket match. There’s the batter, the fielders, and the bowlers.
Fielding is a simple affair to get to grips with (no pun intended). And while batting definitely takes a lot of work and skill, it’s also pretty easy to understand.
Bowling, however, feels like both an intense position to be in, and a difficult skill to get a hold of. All eyes are on you, and you’ve got to avoid no-balls, if you want to keep the game going.
Putting all of these different aspects together is a nightmarish task for newcomers to the sport. But don’t worry. This guide will be the perfect stepping stone to wrapping your head around this crucial spot on a cricket pitch.
And maybe, you’ll have the knowledge and courage to try it out for yourself!
How To Bowl
While bowling, (or ‘delivering’ as it’s also known) is simple to understand, it’s a surprisingly tricky to practise for yourself.
Part of that comes from the slightly different bowling techniques used in cricket from other batting sports, like baseball.
However, another aspect that makes learning to deliver tricky are the major different styles of bowling. There are generally 3 types of bowlers in cricket, with some wiggle room between them:
- Fast Bowlers
- Slow Bowlers/Leg Cutters
- Spin Bowlers
Each one has its own best practices, from how to move your arms and upper body, to even just gripping it differently.
It’s no wonder that a complete newbie might struggle to bowl great from the start. If you’re holding it like a spin bowler, but throwing it like a fast bowl, of course things are going to look and feel messy!
So, as we go through this guide, we’ll break down the basic steps for each type of bowl.
Holding The Cricket Ball Right
Many new players often fumble the bag (or ball, in this case) by holding the ball wrong. So, make sure to follow each part of this guide, if you want to get this early step right the first time!
Fast Bowl Grip
The fast bowl is a classic style, and probably one of the easier techniques to learn when it comes to cricket bowling.
To start with, put the ball in your throwing hand, and place your index and middle fingers on either side of both seams on the cricket ball.
Your thumb should be placed on the seam that your index finger is closest to, and your ring and little fingers should be curled up and placed on the side of the ball. This will give it extra support.
Make sure that ball isn’t placed too deeply in your hand. It should be able to leave the hand pretty easily when thrown. If you’re holding it right, there should be a little gap between the ball and your palm.
Slow Bowl/Leg Cutter Grip
This particular style of bowling is great for bowlers who want to deliver the ball slower, as well as adding a little extra spinning action into a bowl.
The actual hand positioning is very similar to the fast bowl. What changes here is the angling of the ball.
Instead of the index and middle fingers running along each seem, the ball is rotated a little, with the seam more at a 2 o clock position, if you think of the seam as a 12-hour clock.
Everything else, such as the thumb, ring and little fingers, should still be in the same spot.
The only other difference to not is that you’ll bet rotating your hand as you throw the ball (but more on that later).
Spin Bowl Grip
These particularly crafty bowls are good for adding plenty of spin (as the name suggests), and making the ball more unpredictable.
However, the overall grip is pretty different. Instead of the index and middle fingers being placed above, parallel to the seam, they are placed on either side of the ball. The seam runs across under the fingers, while the thumb holds the ball a finger’s width away from the index finger.
Like before, the little and ring fingers will be curled up next to the ball, providing support. And like before, the grip shouldn’t be too strong or weak, just enough to guide the ball as you throw it.
Throwing The Cricket Ball
When it comes to throwing the ball, form is crucial. Luckily, however, all three bowling grips can be executed with the same throw, if you execute it well!
While the jury’s still out on that particular question, rubbing alcohol has been proven to be a great way to get stains out of clothes, cricket whites included.
Run-Up
In order to give some real speed to your throw, you’ll need a run-up to releasing the ball.
The most important thing about this step is that the running part feels comfortable, while also building up some extra power behind the throw. Most players go at a running jog, for that extra bit of power, without exerting too much energy, and rarely for more than 5 paces.
Just keep the run nice and straight, so you don’t throw off your aim when you finally throw!
Gather
Think of this stage as the point between the run-up, and finally releasing the ball. This is the point where you’re adding that momentum to the ball.
There are two main steps to the gather point:
- About 2 paces from the popping crease (the point bowlers can’t cross), take off from the left foot, and hop step forward using your right.
- At the same time, bring your bowling arm to your ear, then lift your left arm in front of you.
- With your left leg up, bring your left knee to your chest, and lean back ever so slightly.
These steps are the case if you’re right-footed. If you’re left-footed, use the opposite leg.
Release
Now, time to throw it!
- At this point, your bowling arm will have the same side leg planted forwards.
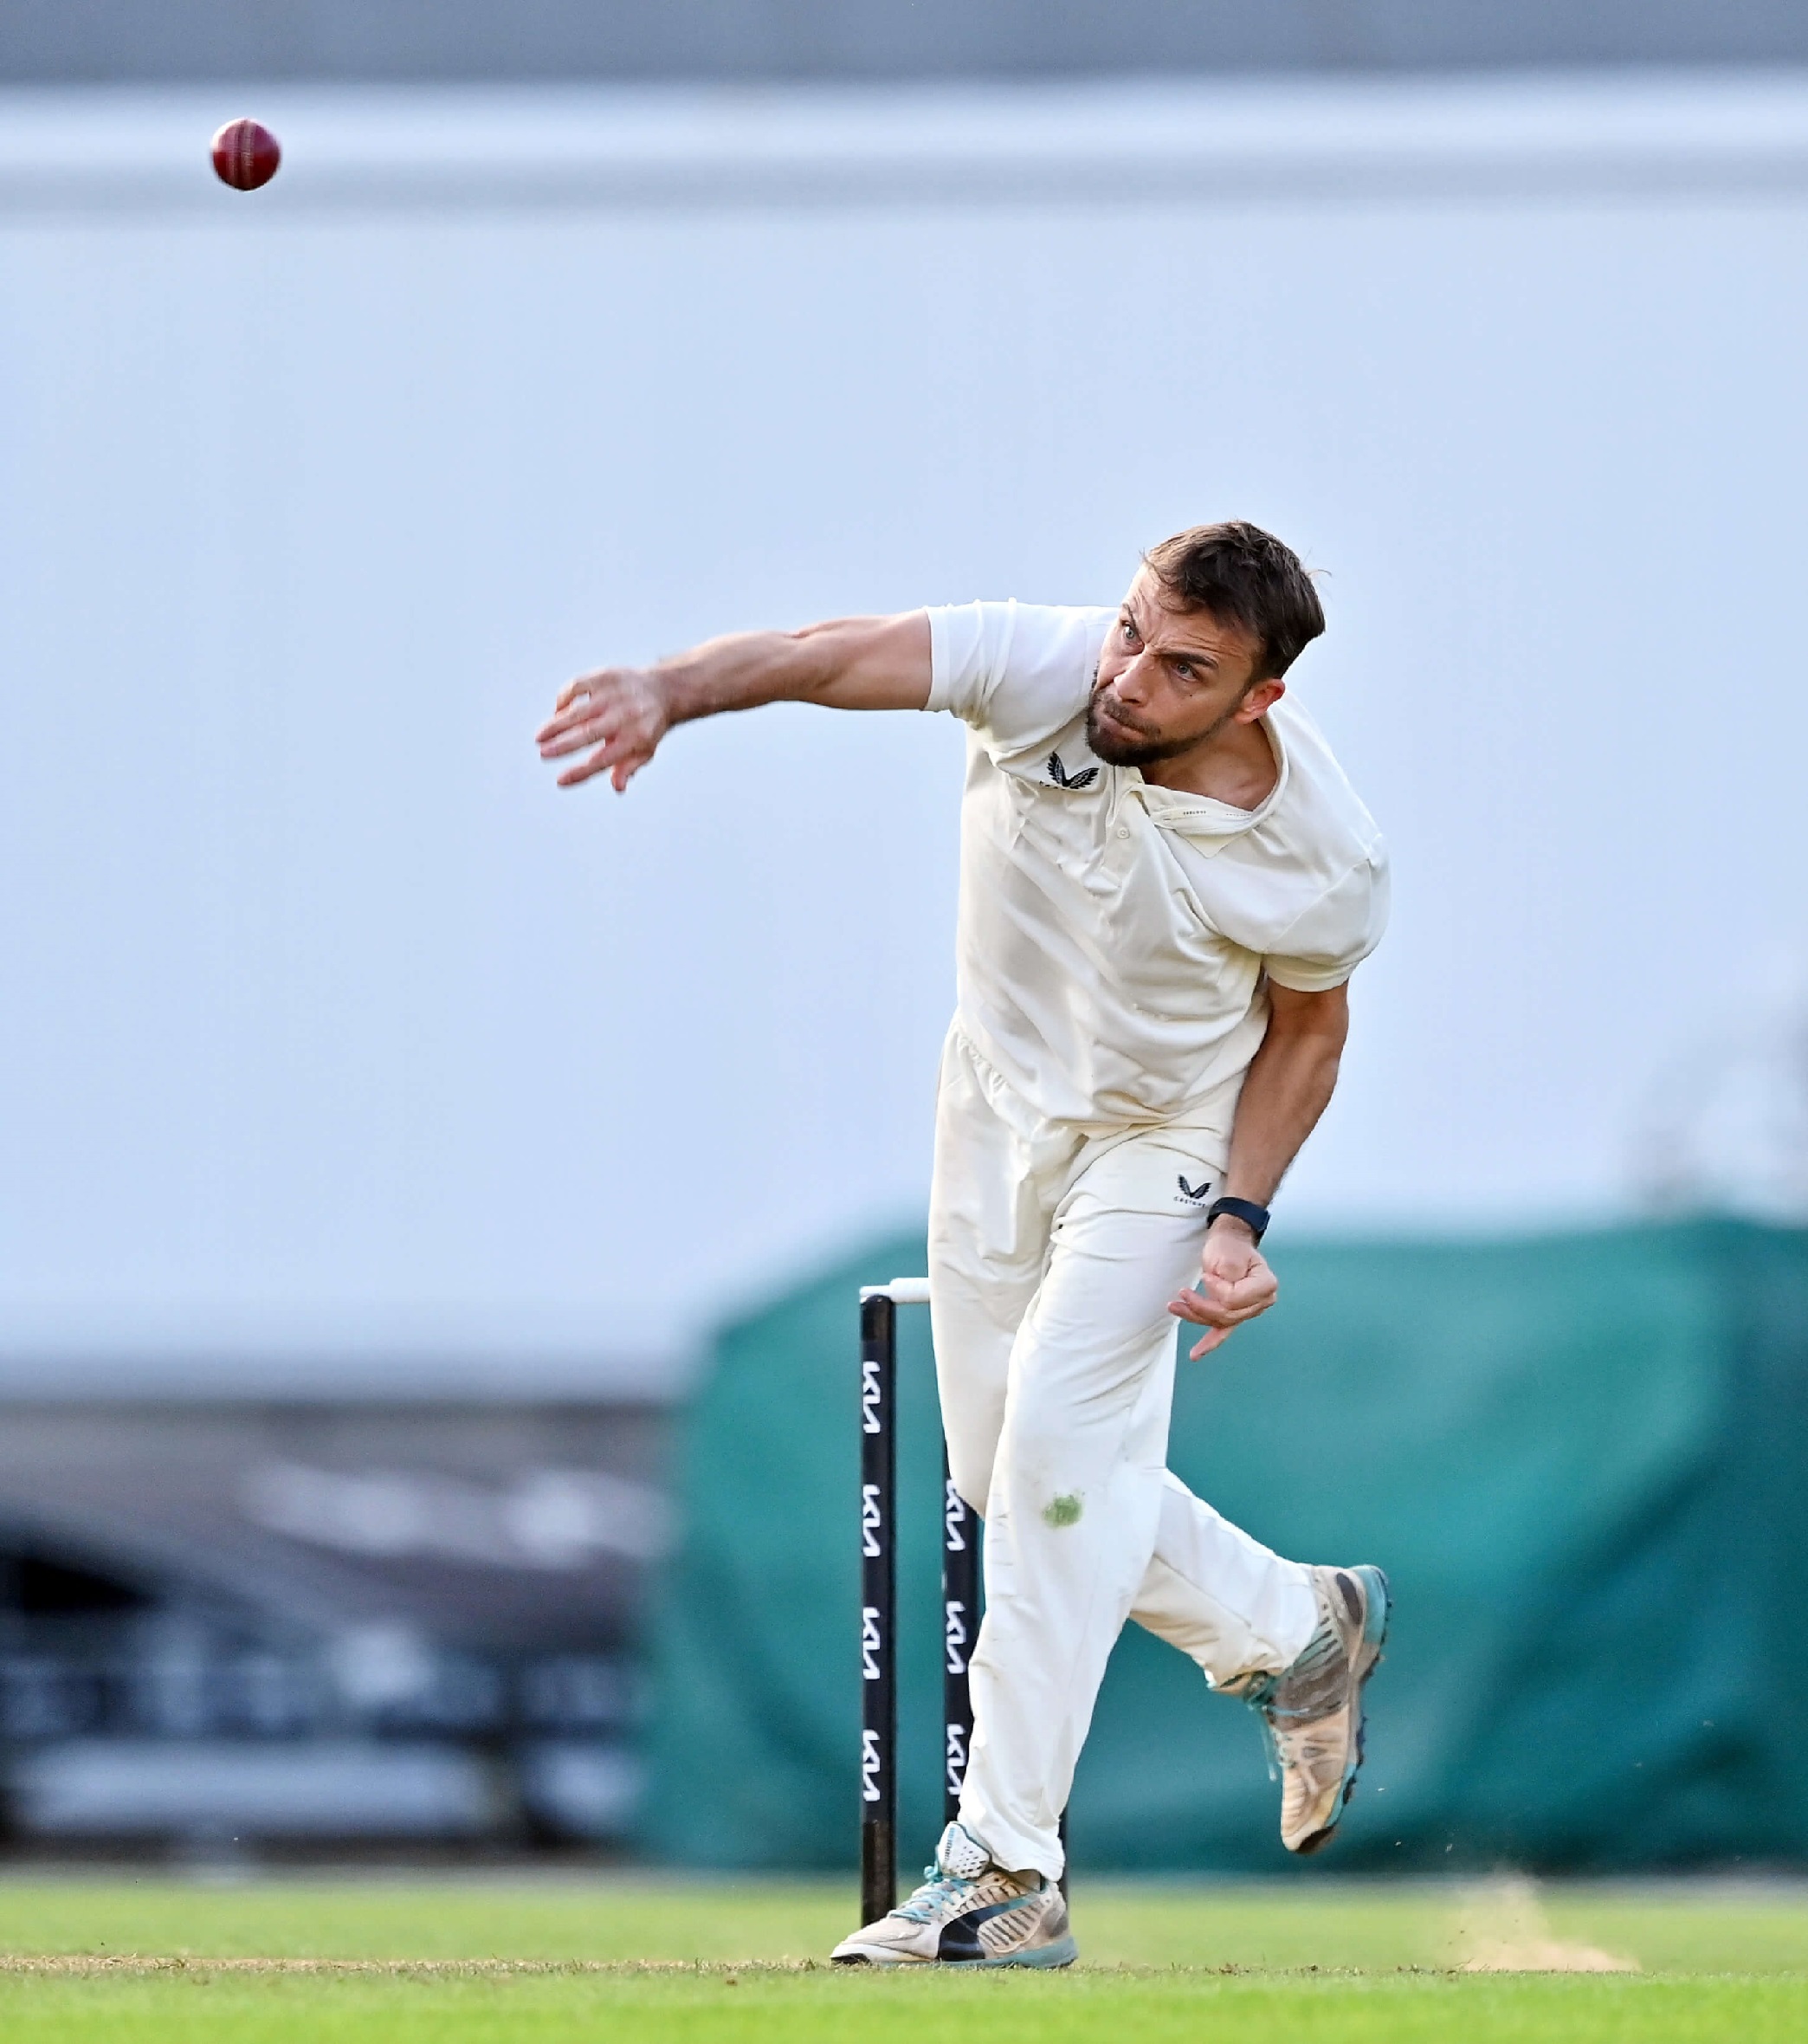
- Then, slam the foot that is currently in the air in front of you, in your final stride. This one should be longer than your previous ones, thanks to the momentum that you’ve built up.
- The planted leg should be straight, as the front arm moves downwards and you lean forward a little.
- The more force you put behind this and the stomp, the quicker your thrown ball will be.
- Keep your bowling arm straight as you raise it above your head, and out in front of you. Then, as the bowling arm comes out in front, release it!
The ball should be well on its way to the wickets (or, failing that, the batter)!
Tips & Advice
While we’ve covered the basic steps, we’re not quite done yet here.
These are some of the most important bits of advice to remember while bowling that cricket ball!
The Follow Through
It’s not just the pitch you have to worry about. You’re not even safe from stains from cricket balls! While you can technically stop moving after you’ve thrown the ball, it better if you have a follow-through, where you move another three to four steps ahead.
Not only does this allow you to carry your momentum into your bowl better, but it also stops you from accidentally putting too much stress on your body.
Remember, pulled muscles and torn ligaments are no joke in this game. And they can really sneak up on players with bad follow-through!
Hips & Shoulders Aligned
You’ll come across different ways to hold your shoulders as a bowler, such as ‘front-on’ or ‘side-on’.
However, the key factor for all of these methods is to make sure that your shoulders and hips are in alignment.
Having them at different angles, and the body twisting as your shoulders move past your hips, is the quickest way to having an accident on the pitch, and getting injured.
Non-Bowling Hand Control
You might think that keep your bowling arm in the right position is the most essential step to follow. However, the non-bowling arm out in front of you is surprisingly more critical.
Remember, this is the arm that your eyes will likely be focusing on, and will dictate the direction that you’re throwing the ball in!
Final Thoughts
So, there you have it.
There are quite a few other bowling techniques that we didn’t get a chance to cover, such as off cutter bowls, and swing bowls.
However, these 3 main bowling methods are the perfect jumping-on point for newcomers to cricket. Once you’ve mastered these bowling styles, you’ll be ready to mix and match them to better fit your personal style, as well as adding in some more advanced methods of bowling.
Related guides
Best adidas Football Kits by Colour
Summer 2020 Match Kit Guide: adidas


