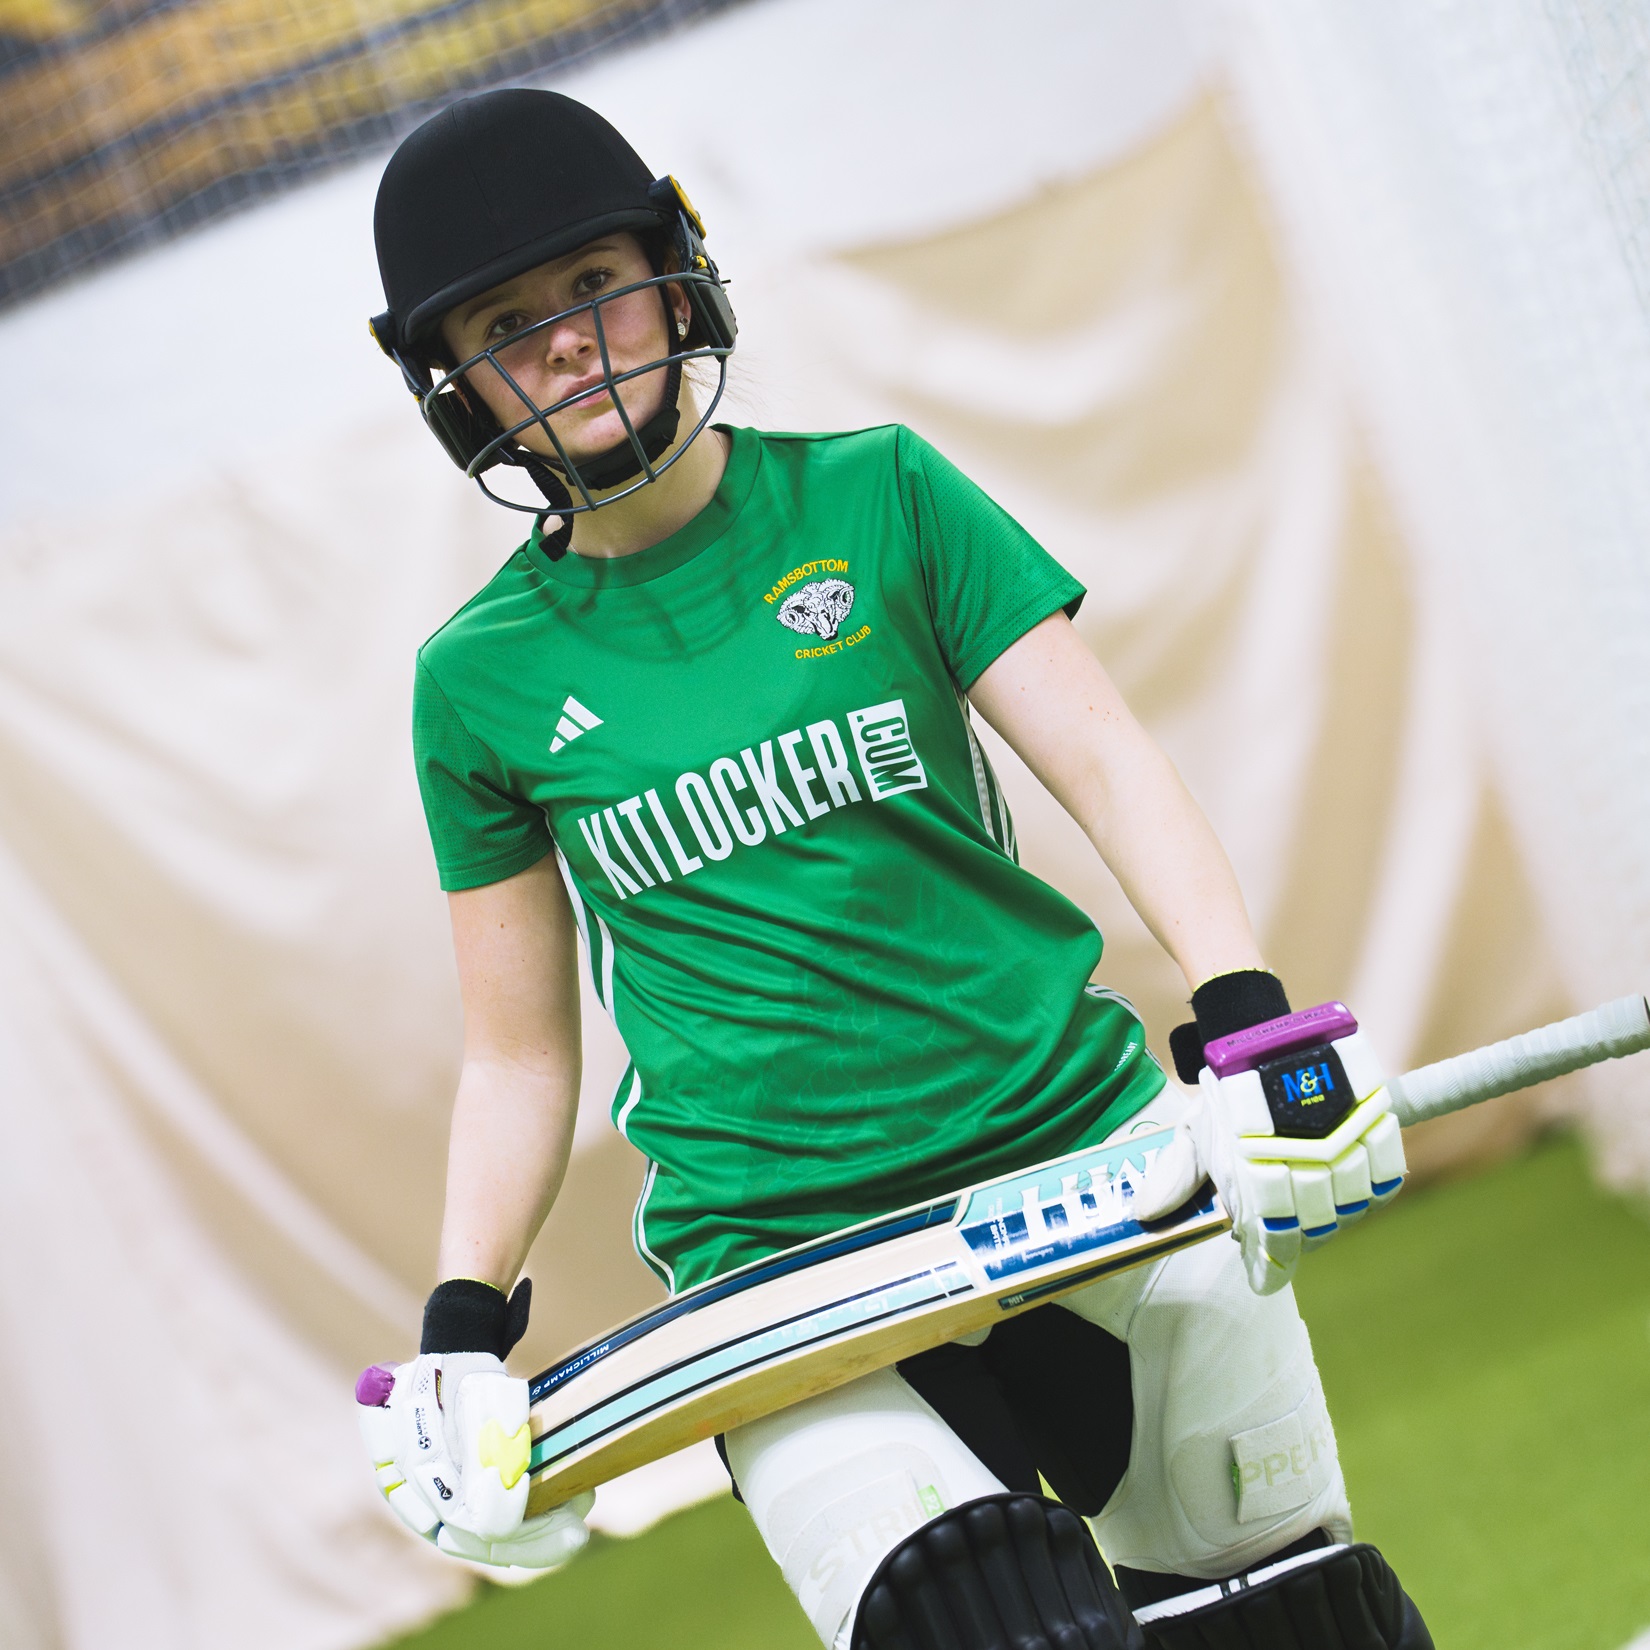
Cricket pads are essential gear for the pitch, but mistakes when wearing them can cause their own problems. This guide will help you put on your pads properly!
How To Wear Cricket Pads
No cricket batsman is ready for the pitch without protection. And that comes in the form of their batting pads.
And we’ll be the first to tell you that they can be an absolute chore to put on!
If you’re struggling to fasten your new cricket pads, you’re not alone. Many players, old and new, often struggle to get comfortable in these protective padded pieces, especially a brand-new set.
Still, whether it’s the classic batting pads, a chest guard, or a crotch cup, you need that protection if you want to leave the pitch without some serious injuries.
So, if wearing cricket pads right is giving you a headache, keep reading this instructional guide to help get you padded up!
Why Cricket Pads Are Important
Since we’ve already covered the kinds of injuries you can get in cricket, and why they’re so dangerous, so we’ll keep this section brief.
Cricket injuries come in a ton of ways, from hamstring and ankle sprains to rotator cuff injuries in the shoulder. Proper technique, plenty of rest, and a visit to a physiotherapist can help prevent most of them. But there’s very little a good stretch can do to prepare you for a thrown cricket ball coming your way!
Cricket balls aren’t especially hard, but their material is tightly round, making it a tough little projectile to throw. Combine that with some pretty fast pitching speeds, often over 90 mph, and that’s a lot of energy they can hit a target with.
A contusion injury from a cricket ball can cause anything from minor bruising to serious internal bleeding. So, having protection against those possibilities is essential for cricket players. This is why having the right cricket pads is so important!
Putting On Cricket Batting Pads
The biggest pads that a cricketer will need are their batting pads. They’re also one of the most essential pieces of kit that a batter should have when they’re on the pitch.
So, as you can imagine, knowing how to put them on is kind of a big deal!
- For a reference point, the Knee roll of the pad (the horizontal piece of padding) should be about the same height as your knee. Meanwhile, the bottom of the batting pad should go over the tongue of your cricket shoes.
- Note: Make sure it’s NOT underneath it, as this can cause the pad to rub against your feet and cause sores or blisters.
- Each cricket pad will have at least two Velcro straps that can be fastened on the back of your leg with a buckle. Hook the Velcro through the buckles, and tighten/secure them. Tighten them from bottom to top to make sure that they’re properly hugging your legs.
- Note: If you can, find pads that have three or four straps. These are WAY more secure on your legs, and won’t move around nearly as much!
- If your cricket pads are made for specific right or left legs, make sure that the batting pad with the extra protection is on the leading leg. These extras could look like a few things, such as a widened section around the ankle, wider wings (side protection for the leg), or even both!
This can take a while to get the hang of, so make sure that you’re putting on your batting pads with plenty of time to spare before a game. As you get used to them, slipping these protective pads will be a piece of cake!
Other Protective Cricket Pads
Of course, if you’re fully kitted out, batting pads are the only layer of protection that you’ll have on the pitch. These are our quick guides for putting on and fastening these cricket kit components!
Cup
Anyone who’s been struck in the nether regions knows that a fast bowl to the gonads is another world of pain entirely. It’s why pretty much every kind of sport out there recommends wearing them!
First, you’ll need to decide where exactly you’re wearing your cricket cup (also known as a ‘box’). The most common places are beneath your underwear, over your underwear, and beneath your cricket trousers.
(If you’re going for this second option, make sure to wear compressive trousers that can hold the guard in place. The cups are known to jostle and move around otherwise.)
These should be the first piece of equipment that you put on, for obvious reasons.
Once it’s on, take a short walk or jog. This will help make sure that it’s placed correctly.
And, of course, make sure that the cup is comfortably placed down there. Remember, you’ll be wearing this piece of kit for a few hours at least, so it needs to be comfy for you!
Thigh Pad
This handy piece of upper leg protection isn’t an essential piece of kit. But they are great for those cricketers who’ve been struck by a speedy delivered ball, and don’t want to feel that pain again!
The thigh pad is a single item, with padding attached around the waist and upper legs. Simply wrap the largest strap around your waist, then wrap the straps on each pad around your leg. Leading legs will have an extra pad above the thigh pad, so use that as a reference point.
Just as a heads-up, the cricket thigh pad is usually put on before the batting pads, if you’re wearing both. Trust us, it will save you the time of putting on your pads, and then having to take them off again!
Arm Guard
The arm guard is another piece of optional protection for your cricket kit. If you’re worried about the ball striking your wrist, then this is an absolute must for you.
Most arm guards have a pretty simple design, with two straps at each end, the thinner side pointing up the forearm to the hand, and the wider side sitting just over the elbow.
This is an item that you can wear either one or two of, depending on your preference. If you’re just using one, we recommend putting it on the side that will be facing the bowler the most.
Chest Guard
Finally, we have the chest guard. This piece has a single pad over the side of your chest that will face the bowler the most. It’s put over your cricket shirt and has a single strap that connects the font side to both above and below your dominant side.
It’s a little fiddly at first, so ask a more experienced cricket player to check how it looks if you’re unsure. It will feel more natural with time.
Again, this is a case of you, the player, deciding how much protective padding you want on the pitch. Personally, we’ve known folks who’ve been struck in the ribs and abdomen a few too many times, so we like to err on the side of caution. But that’s just us!
Other Cricket Pads Tips & Advice
Aside from just putting your pads on, here are a few extra tips that we think will help you ease into using your protective cricket gear.
Sizing Your Cricket Pads
Of course, you want to make sure that your cricket pads are the right size when you buy them. Pieces that are too small will feel too constricting, and pads that are too big will just jostle around and slip out of place.
A good reference point for size is measuring yourself up for batting pads. Measure the length between your knee and your instep (where the tongue of your shoe should go). This will be the length that your cricket pads need to match.
Remember, having bad protection is almost worse than having no protection. So make sure to check your kit before you buy it!
Softening Your Cricket Pads
New cricket pad kits can sometimes be a little coarse or tough when first using them. Softening or breaking them in is a must-do step if you want to wear them comfortably on match day!
Cricket pads will become more comfortable as you play in them, making them very easy to break in. However, if you’ve got the time, try putting them on, and walking/moving around in them a few times, maybe for a half hour. Not only is this perfect for seeing they’re right for you, you’ll also know where the points of contact are.
Sometimes, the simplest solutions are the best solutions. And that’s definitely true for cricket pads!
Maintaining Cricket Pads
Since we’ve already covered how to wash to rest of your kit, we’ll just focus on how you can keep your pads looking and smelling fresh.
Make sure your equipment is thoroughly dry before trying to clean it, or you’ll end up making the stains and smells stuck in there even worse!
- Detach whatever parts of your pads that you can, and gently wipe detergent or a soapy cloth on them.
- Sprinkle baking soda onto them, and leave them to sit for an hour or two.
- Gently rub off the excess powder, and your pads should be odour and stain-free!
And (we cannot overstate this) don’t put your pads into storage before they’ve fully dried! Having moist pads in storage is a haven for fungus, and other nasty-smelling bacteria to set up shop on your equipment. This is especially bad if you’re putting them away after the end of a season, where they’ll be cooped up without cleaning for several months at a time.
So, in case you’re wondering why your gear always wreaks after you’ve taken it back out for the new season, now you know!
Final Notes
If you’re new to putting on protective padding, this can feel a little awkward, and maybe even unnecessary.
However, given how serious strokes from cricket balls can be, we definitely recommend opting for more protection when you start.
As you find your stride, you’ll not only be more comfortable in your kit, but you’ll also be able to figure out which guards are working for you, and which ones you can leave in the cricket bag.
Related guides
Best adidas Football Kits by Colour
Summer 2020 Match Kit Guide: adidas

